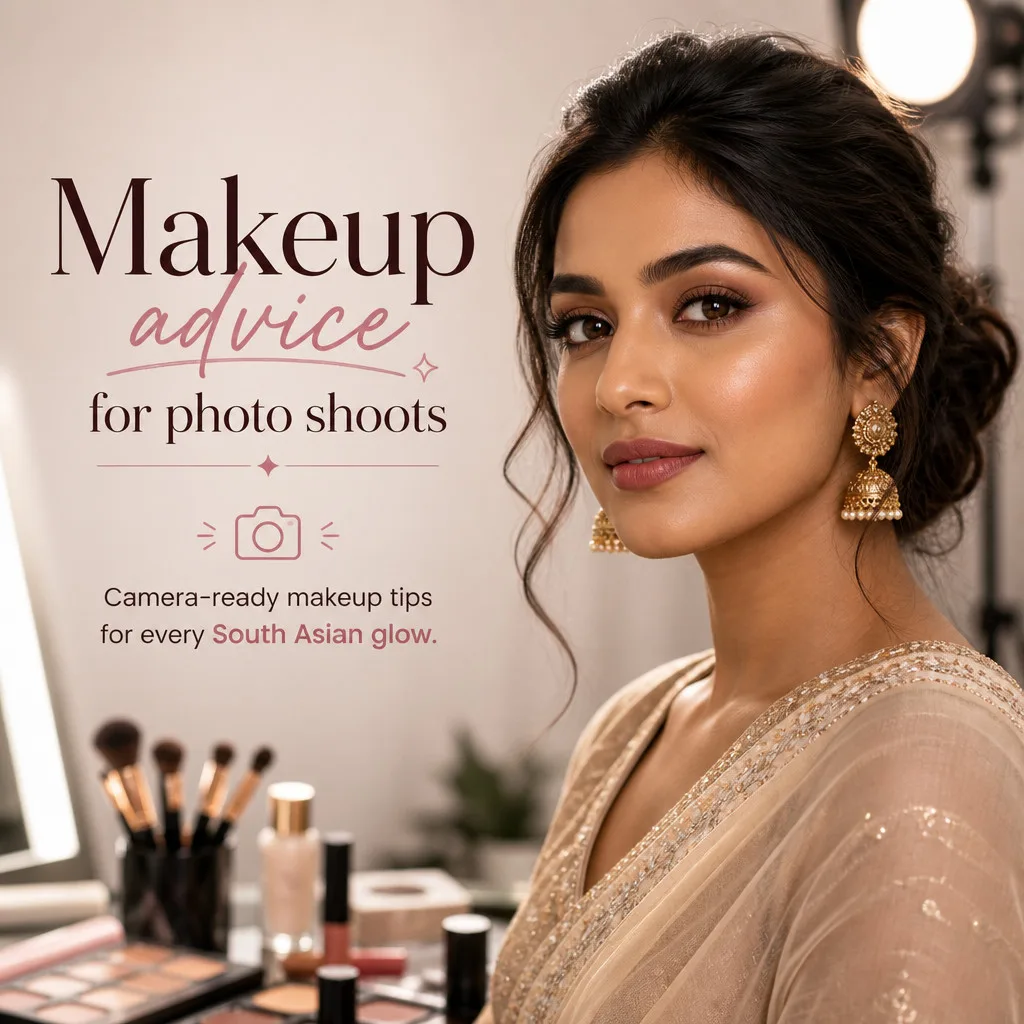
A photo shoot is not the same as a dinner party or a quick selfie. Cameras, flash, studio lights, and even bright window light can make skin texture, shine, and colour choices look very different from what you see in the mirror. After more than 50 years behind the camera, photographer Susruta Chatterjee has seen one reliable truth: the best makeup photographs like you, just a little more polished, rested, and confident. These practical tips are especially helpful for South Asian skin tones, which can range beautifully from golden and olive to deep ebony, often with warm, neutral, or olive undertones.
Makeup Prep for Camera-Ready South Asian Skin
Good photo-shoot makeup begins before foundation touches your face. Cleanse gently, then use a moisturiser suited to your skin type—lighter gel textures for oily skin and richer creams for dry or dehydrated skin. Give skincare at least 10 to 15 minutes to settle before applying makeup; this reduces pilling and helps your base sit more smoothly. If you are shooting outdoors, use sunscreen, but choose one that is labelled “no white cast” and test it first. Mineral filters such as zinc oxide can sometimes create a pale or grey flashback in photographs, particularly on deeper complexions.
Colour matching matters more than the brand name on the bottle. Many South Asian people have pigmentation around the mouth, under the eyes, or on the forehead, and one single foundation shade may not perfectly match every area. A peach, orange, or red-orange corrector—chosen according to your depth of skin tone—can softly neutralise blue-grey under-eye shadows and hyperpigmentation before concealer. Use a light hand: correction should disappear beneath your complexion products, not announce itself. If possible, check your foundation in daylight around the jaw and neck, not just on the back of your hand. The American Academy of Dermatology’s guidance on choosing makeup for your skin type is also useful for building a calm, camera-friendly routine.
For the most natural result, aim for evenness rather than heavy coverage. A medium-coverage, skin-like foundation or tinted moisturiser usually reads beautifully on camera when paired with targeted concealer. Apply thin layers, pressing product into the skin with a damp sponge or dense brush, and build only where necessary. Set areas that crease or become shiny—the centre of the forehead, nose, chin, and under-eyes—with a finely milled translucent or complexion-toned powder. Avoid overly pale “banana” powders if they turn ashy on your skin. Before the shoot, take a quick test photo in the actual lighting if you can; it is the simplest way to catch flashback, excess shine, or a base that needs warming up.
Photo Shoot Makeup Tips That Last Under Lights
Studio lamps can be surprisingly warm, and they can encourage shine faster than a humid Kolkata afternoon. Start with a gripping or mattifying primer only where you need it, especially through the T-zone, rather than applying it heavily all over. Then choose long-wearing formulas for foundation, concealer, eyeliner, and lip colour. Cream blushes and bronzers can look wonderfully natural, but lightly setting them with a powder product in a similar tone helps them last. This layering technique gives dimension without making the face look flat—a common issue when makeup is applied with only the mirror in mind.
For eyes, definition is often more important than dramatic colour. Well-groomed brows, curled lashes, a touch of liner close to the upper lash line, and mascara can make a major difference in portraits. Warm browns, bronze, plum, copper, berry, and deep jewel tones tend to complement a wide range of South Asian undertones, while champagne or gold placed strategically at the inner corner can brighten the eyes. Be cautious with chunky glitter, very reflective highlighter, and heavy SPF products: flash photography may turn them into unexpected bright patches. You can learn more about why different light sources affect colour from this accessible National Geographic overview of light and colour.
Blush, bronzer, and lips deserve a little extra attention because cameras can soften colour. What feels slightly stronger in person often looks perfectly balanced in a final image. Choose blush shades that mimic a natural flush: rose, berry, terracotta, deep coral, or warm brick are often flattering options. Place bronzer around the perimeter of the face and cheekbones for warmth, but avoid going too orange or too grey. For lips, define the edges with liner and use a satin, cream, or softly matte lipstick; extremely glossy lips can create distracting reflections under lights. Bring a small touch-up kit with blotting papers, powder, lip colour, cotton buds, and a compact mirror. A quick blot between setups is usually better than repeatedly adding more powder.
The goal of photo-shoot makeup is not perfection—it is confidence, comfort, and a look that still feels recognisably yours. Whether you prefer a barely-there glow or full glam, communicate your preferences before the session and bring reference photos if they help. Susruta Chatterjee’s decades of photographic experience make one final piece of advice especially worthwhile: relax, trust the process, and do not be afraid to smile between frames. For additional inspiration, browse Vogue India’s beauty coverage and save looks that make you feel your best.